The Carolinas
Running a kids drawing and story workshop
A drawing and story workshop for children works best when the session is built around one small finished thing: a character, a place, or a four-panel scene that each child can hold up at the end.
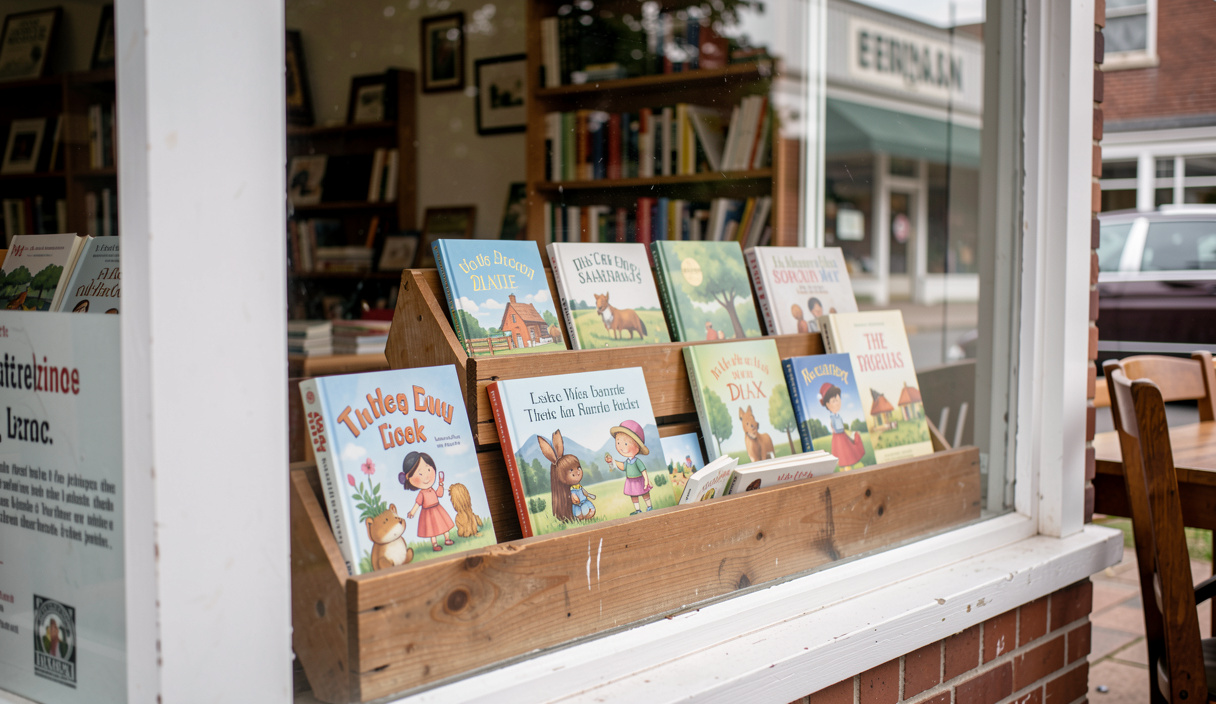
A drawing and story workshop for children works best when the session is built around one small finished thing: a character, a place, or a four-panel scene that each child can hold up at the end. Age bands decide the materials and the pace, the room decides how children move between tables and floor, and the course calendar decides how many sessions you can honestly promise. Plan the arc first, then buy supplies to fit it.
What does a drawing and story workshop for children actually look like?
A session usually runs 60 to 90 minutes and moves through four phases: a warm-up drawing, a short story prompt, a making block, and a sharing circle. The warm-up is fast and low stakes, often a two-minute scribble or a shape turned into a creature. The prompt is spoken, not read aloud at length, and it gives children one concrete problem: a character who has lost something, a door that should not be there, a map with a missing corner. The making block is the longest part, 30 to 45 minutes, and it is where drawing and story stay connected, because children write or dictate a line under each image. The sharing circle closes the session and gives every child ten or twenty seconds to show one thing.
That structure repeats across a term. Repetition is the point: children learn the rhythm and stop asking what happens next, which frees attention for the work itself. Instructors who run community arts programming often describe the same pattern, and centres that publish their course calendars, such as the community arts course listings for Cagnes-sur-Mer, show how a season is divided into weekly slots, short holiday formats and one-off sessions. Reading a real calendar before you design your own keeps your promises realistic.
Which age bands should you separate, and why?
Three bands cover most community settings: 5 to 7, 8 to 10, and 11 to 13. Each band needs a different ratio of talking to making, and a different tolerance for open-ended instructions.
Ages 5 to 7 need short instructions, one idea per session, and adult help with anything involving scissors or glue. Drawing and writing are still merging at this age, so dictated captions work better than independent writing. A group of ten is comfortable with two adults.
Ages 8 to 10 can hold two linked ideas in one session, such as a character plus a setting, and they can write their own short captions. They enjoy choosing between two prompts, and they notice fairness, so keep materials identical across the table. A group of twelve to fourteen works with one lead and one helper.
Ages 11 to 13 want more control and more privacy. They often prefer a longer single project across several weeks, such as a small comic, and they dislike having work displayed without consent. Give them the option to share or not, and keep the sharing circle short.
Mixed-age groups are possible but need paired tasks: an older child writes, a younger child draws, then they swap. Without a defined role, mixed groups drift toward the oldest children doing everything.
What materials and room setup keep a session moving?
Materials should be reachable without an adult, and the room should have at least three zones: tables for drawing, a floor area for reading and talking, and a display wall or line for finished work.
A basic kit per child: A4 or A3 paper, a pencil, an eraser, a black fine-liner, and a small set of colored pencils or markers. Add water-based paint only if you have a sink or a water container per table, and only with aprons or old shirts. Keep a tray of scrap paper for warm-ups, and a box of cheap envelopes so children can take work home without folding it.
Room setup matters more than the supply list. Tables in a U shape let everyone see a demonstration without crowding. A floor area with a rug or cushions gives the group a place for the story prompt and the sharing circle, and it separates listening from making. Tape a line of masking tape along one wall as a drying and display line, and label it with the group name so work does not get mixed between sessions.
Safety is mostly about traffic and tools. Keep the walkway between tables clear, store scissors and glue in a single supervised tray, and check that chairs match table height. If the room is shared with other activities, photograph the setup at the end of the first session so you can rebuild it in five minutes the following week.
How do you shape a session that fits a course calendar?
Start from the number of weeks you actually have, then work backwards. A ten-week term can carry one long project with a public or family sharing at the end. A six-week term suits two shorter projects of three weeks each. A single holiday session needs a complete arc inside 90 minutes, which means a simpler prompt and no drying time for paint.
A workable ten-week shape: weeks one and two build character, weeks three and four build setting, weeks five to seven build a four-panel sequence, week eight revises, week nine makes a cover or title, week ten shares. Each week still follows the warm-up, prompt, making, sharing rhythm, so the term feels consistent even as the project grows.
For a six-week term, cut the revision week and keep the cover simple. For a two-hour holiday workshop, use one prompt, one drawing, one caption, and a group display at the end. Write the plan as a table with one row per week and one column for the finished thing that week, because a visible output per session is what keeps children and parents oriented.
How do you handle registration, helpers and mixed abilities?
Registration details belong on one page: dates, times, age band, price, what to bring, and a contact for absences. Ask about allergies and accessibility needs at sign-up rather than on the first day, and keep a paper list at the door for the first two sessions.
Helpers do not need art training. Give them three jobs: welcome and name tags, materials refill, and one-to-one support for a child who is stuck. Brief them in five minutes before the session with the prompt and the timing, and agree on a signal for when the group needs to move on.
Mixed abilities are normal. Offer every task at two levels: a supported version with a template or a starting shape, and an open version with a blank page. Never present the template as the lesser option. Children choose quickly and rarely feel singled out when both versions sit on the same table.
What goes wrong in the first term, and how do you avoid it?
Four problems come up repeatedly. The first is too much talking: if the prompt runs past five minutes, the group loses the thread. The second is materials that only the instructor can reach, which turns the session into a queue. The third is a project too large to finish, which leaves children with nothing to show. The fourth is a sharing circle that runs long, which makes the last ten minutes feel like a punishment.
Fix them with simple rules. Time the prompt with a visible clock. Put materials on every table. Choose a project that produces one finished piece per session, even inside a longer arc. Cap the sharing circle at one sentence per child, and let anyone pass.
A workshop that respects the calendar, the room and the age band does not need elaborate supplies or a performance at the end. It needs a repeatable shape, a clear output each week, and adults who keep the making time protected. That is enough for children to come back, and for a community arts centre to run the course again next term.